If you own a Samsung Galaxy S9 and want to unlock its full potential, installing a GSI ROM is a great option. GSI ROMs are custom ROMs that can be installed on Android devices, providing a range of customization options and features that may not be available on the stock ROM.
Installing GSI ROM on your Samsung Galaxy S9 can help you customize your device, improve performance, and access new features. In this article, we’ll guide you through the process of installing GSI ROM on your Samsung Galaxy S9 device using TWRP recovery.

Table of Contents
What is GSI ROM and Why Install it on Samsung Galaxy S9?
GSI ROM stands for Generic System Image ROM, which is a type of custom ROM that can be installed on Android devices. It is designed to work across different Android devices and is typically used by developers to test apps across multiple devices. By installing GSI ROM on your Samsung Galaxy S9, you can unlock new features, improve performance, and customize your device according to your preferences. GSI ROMs can be easily installed on Samsung Galaxy S9 devices using TWRP recovery and some prerequisite steps. In this article, we’ll guide you through the process of installing GSI ROM on your Samsung Galaxy S9 device using TWRP recovery.
Downloading Required Files:
Before you start the installation process, you’ll need to download a GSI ROM for your Samsung Galaxy S9 device.
GSI ROM for Samsung Galaxy S9
The GSI ROM is the core component of the installation and will replace your current Android system. To download the GSI ROM for your Samsung Galaxy S9 device, visit the below link. Make sure to select the appropriate ROM version for your device and download it to your device’s internal storage.
Download: GSI ROM
Once you have downloaded GSI ROM, you can proceed with the installation process. We recommend double-checking the files for compatibility and safety before installing them on your device.
Installing TWRP Recovery on Samsung Galaxy S9
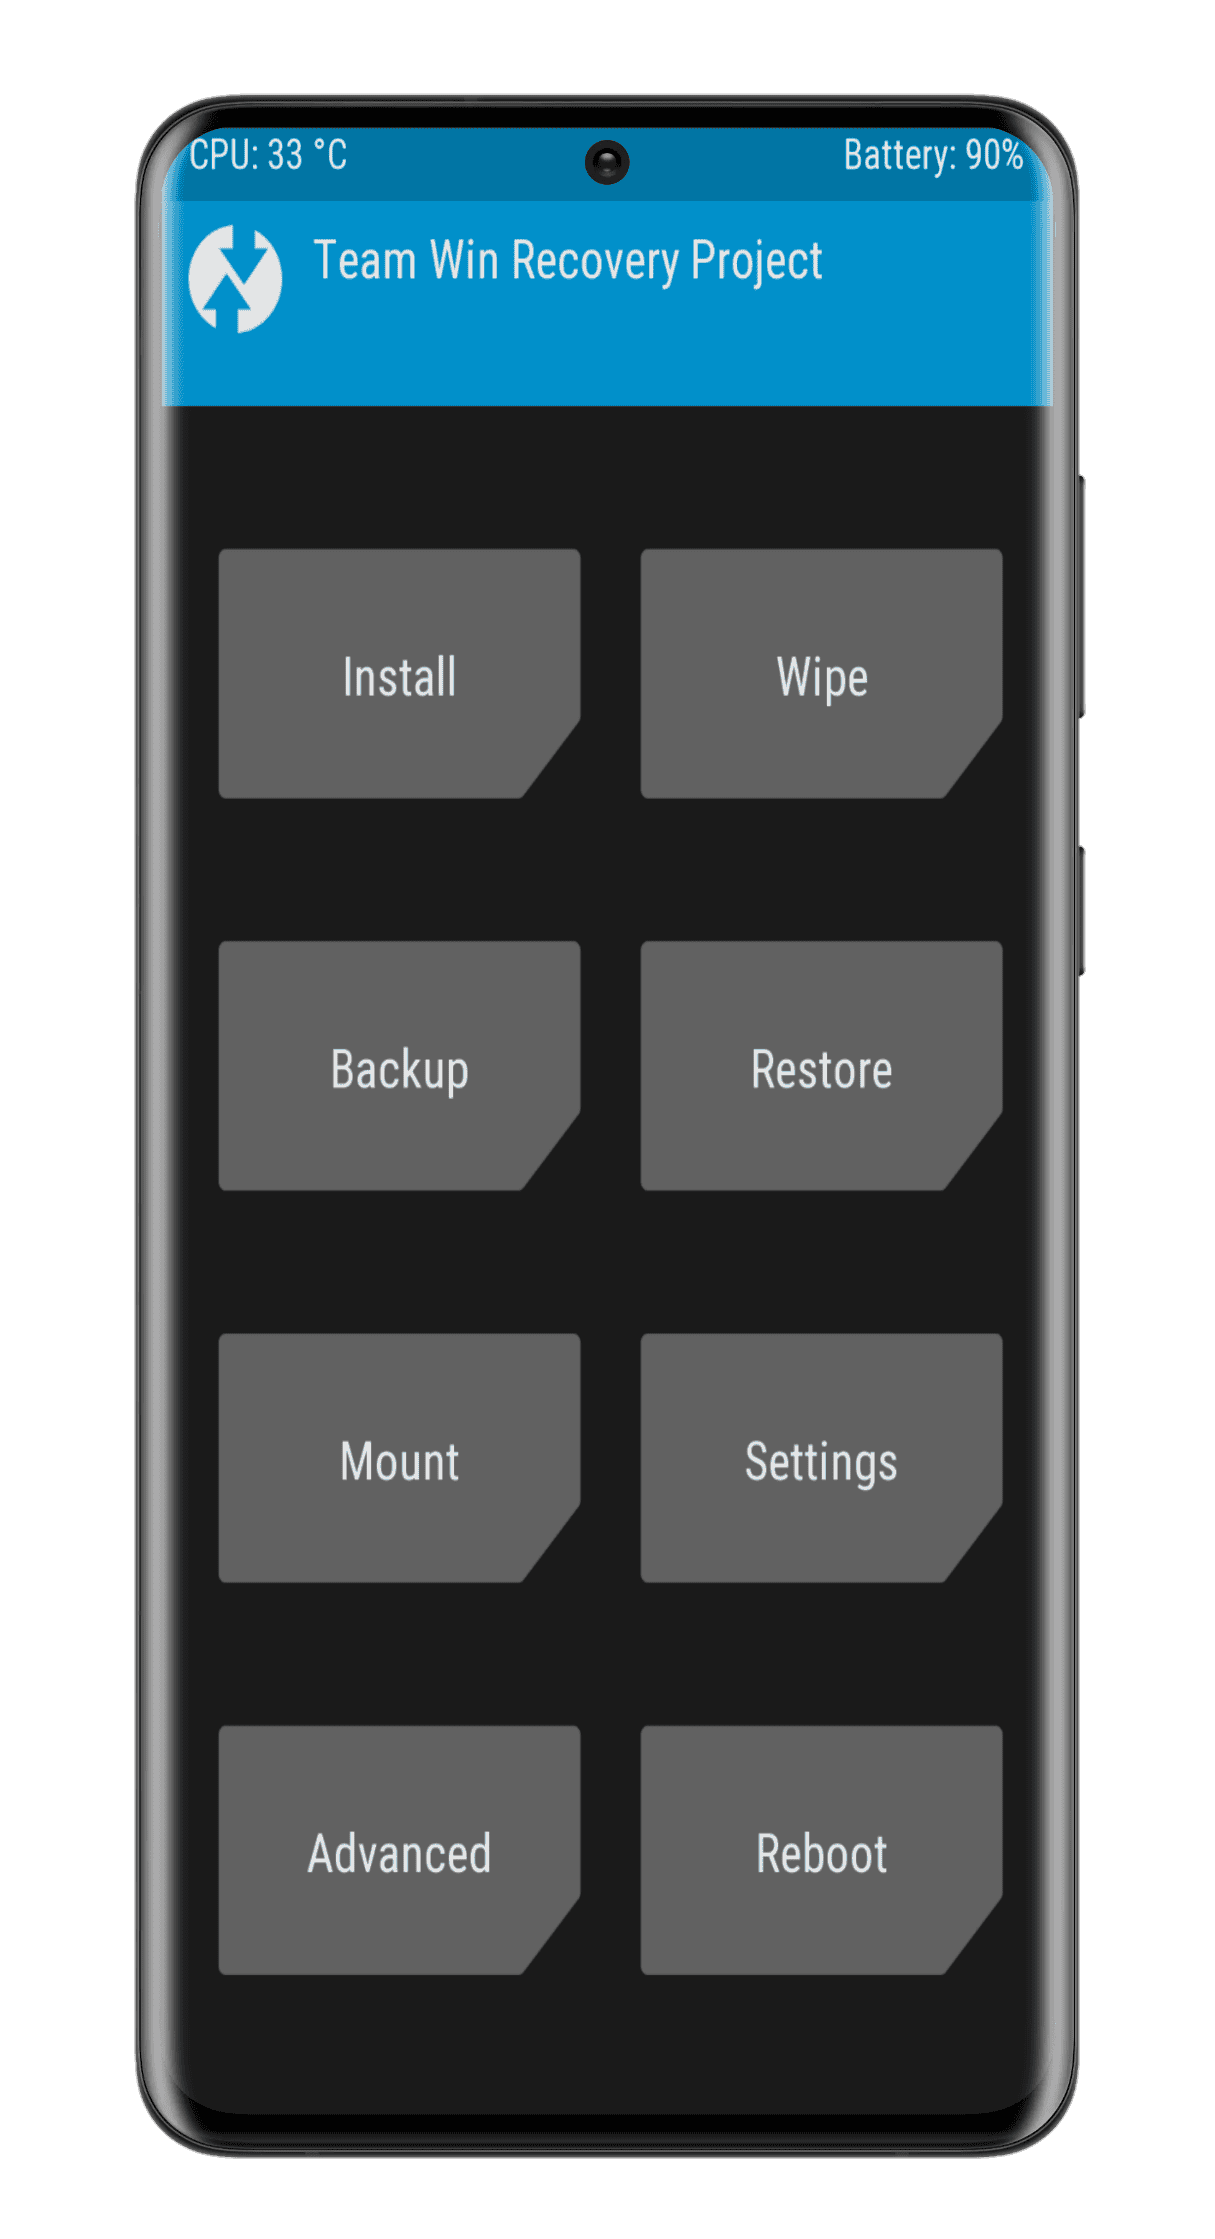
Before you can install the GSI ROM on your Samsung Galaxy S9, you’ll need to install TWRP (Team Win Recovery Project) custom recovery on your device. TWRP is a custom recovery that allows you to install custom ROMs, kernels, and other modifications on your device.

To install TWRP on your Samsung Galaxy S9, you can follow our step-by-step guide on how to install TWRP recovery on Samsung Galaxy S9. Once you have successfully installed TWRP, you can proceed with the installation of the GSI ROM.
Installing GSI ROM on Samsung Galaxy S9 using TWRP Recovery
Once you have successfully installed TWRP recovery on your Samsung Galaxy S9, you can proceed with the installation of the GSI ROM. In the following section, we will guide you through the step-by-step process of installing the GSI ROM on your Samsung Galaxy S9 using TWRP recovery.
- Boot into TWRP Recovery mode your Samsung Galaxy S9.
- Wipe the necessary partitions by selecting Wipe > Advanced Wipe, then selecting the Dalvik, Cache, Data, and System partitions. Do not wipe your internal storage.
- Flash the GSI ROM by selecting Install, then pressing the Select Image button. Choose the GSI ROM image that you downloaded and select the System partition to flash it.
- Install the Magisk zip by selecting Install from the TWRP main menu, then selecting the Magisk zip file you downloaded.
- Reboot your Samsung Galaxy S9 by selecting Reboot > System from the TWRP main menu. Your device should now boot into the GSI ROM with the Magisk installed.
Congratulations, you have successfully installed the GSI ROM on your Samsung Galaxy S9. The GSI ROM provides a clean and pure Android experience without any manufacturer or carrier modifications. By installing a GSI ROM and Magisk, you can further enhance the performance and functionality of your device. With TWRP recovery, you can easily backup and restore your device, as well as install other custom modifications. Enjoy exploring the possibilities that the GSI ROM has to offer on your Samsung Galaxy S9.
To fix the SIM 2 calling audio bug, you need to install a custom vendor image. As for the USB connecting problem, you need to flash a custom kernel.
Conclusion
In conclusion, installing a GSI ROM on your Samsung Galaxy S9 can provide you with a pure and clean Android experience that is free from any manufacturer or carrier modifications. With the help of TWRP recovery, you can easily install the GSI ROM, Custom Kernel, and Magisk to further enhance the performance and functionality of your device. It is important to note that installing a GSI ROM on your device can be risky and may void your warranty. Therefore, it is recommended that you proceed with caution and make a complete backup of your device before proceeding with the installation. We hope that this guide has helped you in successfully installing a GSI ROM on your Samsung Galaxy S9. If you have any questions or comments, please feel free to leave them below.
