OxygenOS, developed by OnePlus, is renowned for its clean and user-friendly interface. With the release of OxygenOS 13, based on the latest Android version, users can expect a range of exciting features and improvements.
In this article, we will guide you through the process of downloading and installing the OxygenOS 13 GSI ROM on your device. GSI ROM, or generic system images, allow users to rejuvenate their older devices or experiment with different ROMs on devices that aren’t officially supported. Let’s get started!
Table of Contents
Prerequisites
Before proceeding with the installation process, ensure you meet the following prerequisites:
- Unlocked Bootloader: Make sure your device’s bootloader is unlocked. If you haven’t done this already, do this first.
- Custom Recovery: Install a custom recovery such as TWRP (Team Win Recovery Project) on your device. A custom recovery is essential for installing custom ROMs. You can find detailed guides on how to install TWRP for your specific device model on the official TWRP website or community forums.
Download the OxygenOS 13 GSI ROM
To download the OxygenOS 13 GSI ROM, click on the link provided below:
Download: OxygenOS 13 GSI ROM
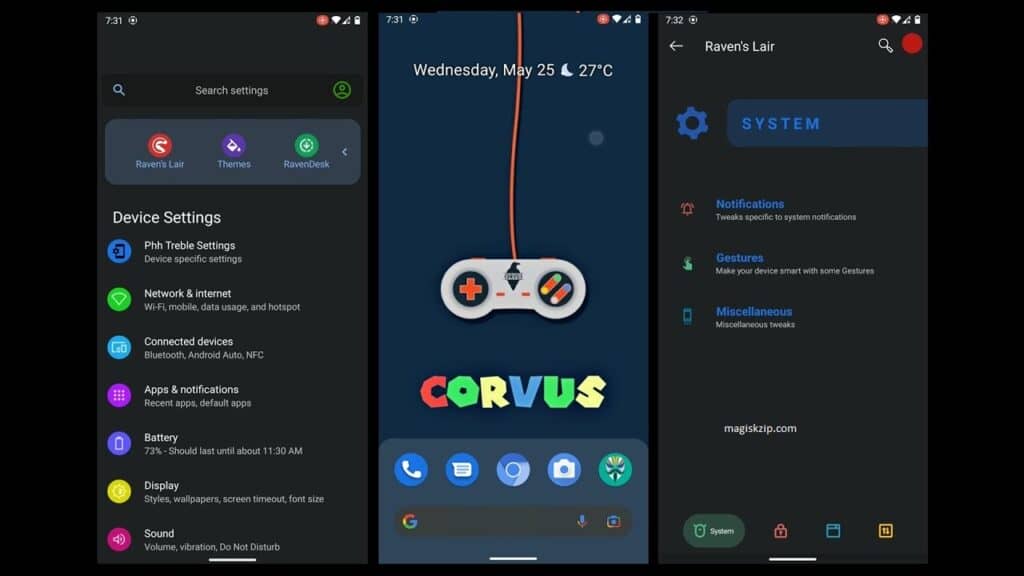
Developed by Nippon, this ROM is based on Android 13 and offers a clean and user-friendly interface. Its performance is optimized, providing a smooth and fast user experience by incorporating the latest Android functionalities.

Installation of the OxygenOS 13 GSI ROM
Before proceeding with the ROM installation, it is essential to have a custom recovery installed. TWRP is recommended for this purpose. You can refer to my YouTube video on how to install TWRP on your specific device model.
Once TWRP is successfully installed, follow the steps outlined below to install the OxygenOS 13 GSI ROM:
- Boot your device into TWRP recovery mode.
- In TWRP, select the “Wipe” option, and swipe to wipe the Dalvik Cache, Cache, System, and Data.
- Extract the downloaded OxygenOS 13 GSI ROM using the 7zip tool.
- In TWRP, choose “Install,” navigate to the location where you saved the OxygenOS 13 GSI ROM, and select it.
- Select “System Image” and swipe to confirm the installation.
- (Optional) If available, flash a custom kernel.
- (Optional) If available, flash a custom vendor using the same method as in step 4.
- (Optional) If desired, flash a Magisk Zip file for rooting purposes.
- Once all the above steps are completed, reboot your device.
Check this also: How to Install Android 14 on any Project Treble Phone
Conclusion
By following this step-by-step guide, you can successfully download and install the OxygenOS 13 GSI ROM on your device. OxygenOS, known for its sleek design, performance optimization, and user-friendly experience, brings a range of exciting features to enhance your Android experience. Remember to proceed with caution and ensure you have backups of your important data before performing any system modifications. Enjoy the latest version of OxygenOS on your device.